
Rewild Your World
Week 8 - Planting Week
.png)
Intro – Planting Week: Habitats in Action
Begin the week by guiding students to reflect on the full journey of the course. Invite them to recall:
Learning about ecosystems and interdependence.
Investigating their Champion Animal.
Understanding conservation status and population trends.
Using maths to explore birth and survival rates.
Designing and voting on their habitat plan.
Working collaboratively to prepare for planting.
Briefly model how to connect prior learning to action (e.g., "We chose this plant because it provides shelter and food for our Champion Animal. This supports the food chain and helps maintain ecosystem balance.")
Encourage students to recognise that planting week is the practical outcome of everything they have studied.
This week, your habitat plan becomes real.
Before you begin planting, pause and think about everything you have learned throughout this course. You have explored ecosystems, food chains and biodiversity. You have studied your Champion Animal. You have learned about conservation status, population growth and sustainability. You have worked in teams, made decisions and voted on a habitat design. All of that learning has led to this moment.
This week, you will turn your knowledge into action. You will revisit your chosen design, explain how it supports your Champion Animal and other species, read plant labels carefully, lay out your pots and plant with care. You will think about how each decision supports animal populations now and into the future.
You will look for signs of animal life and predict which species might be supported and why, imagining what it will feel like when the first creature arrives in your rewilded space.
By the end of the week, your school grounds will begin to change. You will not just have planted a garden. You will have taken meaningful action to support living systems and protect biodiversity in your own community.
Note: The best time to plant is going to depend on your location and the season as we discussed in Week 4. If the time is not right this week, use this time to finalise plans, prepare materials and justify plant choices, then plant when conditions are suitable. You can still enjoy the remainder of the course with planting as a finale at a later date.
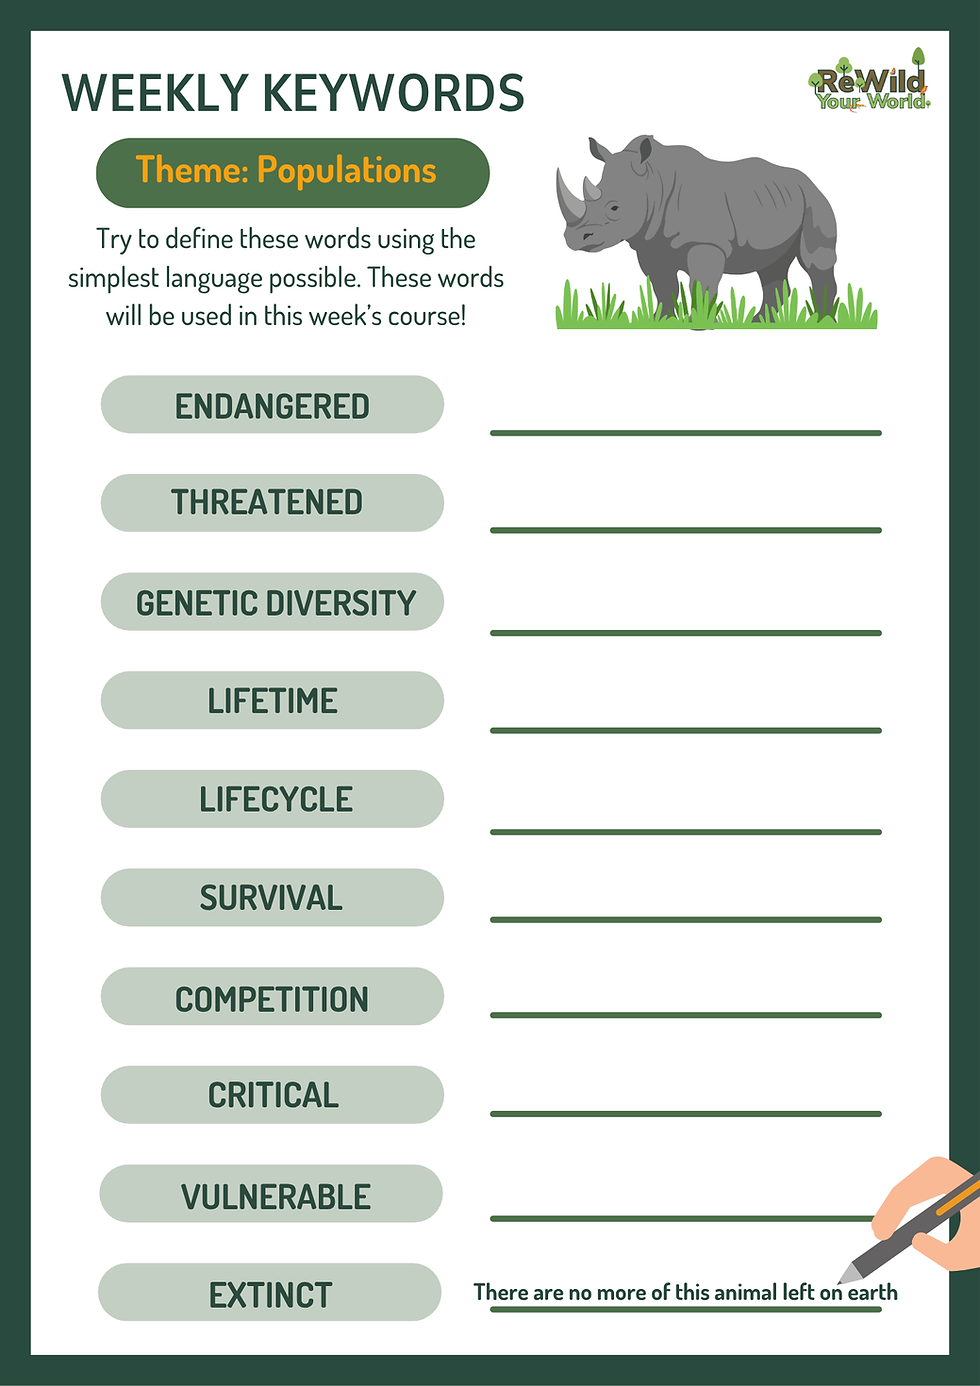
Your Weekly Keywords
This activity introduces key ideas about population balance and sustainability before students begin planting. Before starting, briefly revisit the concept of balance in ecosystems. Ask simple, concrete questions such as:
What might happen if there were too many caterpillars in one small garden?
What might happen if there were no insects at all?
Focus students on cause and effect thinking. As students match vocabulary to definitions, listen for:
Careful reasoning rather than guessing.
Use of examples from their Champion Animal.
Understanding that more is not always better.
Ability to explain what might happen over time.
Students may begin to show early systems thinking, noticing that food, shelter and space limit how many animals can live in one area. Some may also show emerging ethical thinking when discussing extinction or decline. Watch for language development, especially correct use of words such as population, habitat, sustainability and balance. Encourage students to speak in full sentences when explaining their reasoning.
This week, your new keywords will help you understand what happens when groups of animals and insects grow, shrink, or stay balanced in a habitat.
As you begin planting your habitat, it is important to remember that you are not just adding plants to the ground. You are helping to support populations of living things. A population is a group of the same kind of animal or plant living in one place.
Some of this week’s words describe what happens when there are many living things in an area. Some explain what happens when there are too few. Others help you understand how habitats can support life for a long time, not just for one season.
First, read all of the keywords carefully. Then read the definitions. Think about which word matches each meaning. Talk with a partner and explain your thinking. Try using each word — use it in a sentence to show your understanding.
As you work, ask yourself:
What does this word tell me about growth?
Does this word describe balance or imbalance?
How does this connect to the plants we are about to put into the ground?
By the end of this task, you will understand that planting is not just about today. It is about creating a habitat that can stay healthy and balanced for many years.
Quote of the Week - Molly Steer
This quote supports student agency and reinforces the idea that environmental change often begins with small, personal decisions.
Begin by briefly explaining who Molly Steer is and the simple action she took. Keep the story focused on initiative and courage rather than fame or scale.
Where appropriate, connect this idea to other young changemakers students explored in previous lessons (e.g., Greta Thunberg), and prompt discussion about age and influence. Encourage students to consider whether adults always know more, or whether young people can also lead meaningful change.
“I’m just one kid who said no to plastic straws — and look what happened.” — Molly Steer, Straw No More
This week’s quote reminds us that small actions can create big change.
Molly Steer was just a child when she decided to stop using plastic straws. She did not have a large team. She did not have a big budget. She simply made a choice and encouraged others to do the same. That small action grew into a movement that helped reduce plastic waste across Australia.
As you begin planting your habitat this week, think about the power of one action. Each plant you place into the soil matters. Each careful decision you make helps insects, birds and animals survive.
You may feel like you are just one student planting one small space. But habitats grow. Ideas spread. Change builds slowly and steadily.
As a class, talk about what Molly might have felt when she first spoke up. Was she nervous? Determined? Hopeful?
After your discussion, write your own short quote about small actions and big change. Think about what you believe. How can one careful decision help protect nature? Keep your message clear, strong, purposeful and hopeful.

Rewilding the World – Story of the Week – Greater Bilby
Desert Havens
Introduce this case study as a real example of desert restoration in Australia. Support students to clearly identify the problem by discussing how invasive species affected native animal populations and soil health.
Guide students to notice the structure of the case study, moving from a healthy ecosystem, to imbalance, to protection and recovery. Reinforce that rewilding takes time and careful planning. Encourage students to recognise the bilby as an ecosystem engineer and notice how its digging behaviour improves soil and supports plant growth.
Use questions such as:
What changed when invasive animals were removed?
Why did recovery take time?
How does protection support population sustainability?
How might Traditional Ecological Knowledge (TEK) and contemporary science have worked together to solve this?
Support students to connect this example to their own habitat planting. Highlight that creating safe, native spaces at school is a small but meaningful version of restoration. Look for students demonstrating cause and effect reasoning, use of sustainability vocabulary, and early systems thinking. Praise thoughtful connections rather than quick answers.
This week, you will explore a real rewilding project from central Australia that helped bring the desert back to life.
Read the case study carefully and look closely at the images. Notice the role the Greater Bilby once played in shaping the desert by digging burrows and turning the soil. Think about what happened when invasive animals arrived and the balance of the ecosystem was disrupted and lost.
As you read, pay attention to the action taken at Newhaven Wildlife Sanctuary. Notice who worked together, what was built to protect the land, and how native animals were reintroduced. Look at the results and how life slowly returned to the desert.
After reading, think about how this project connects to your own planting work at school. Ask yourself what made this restoration successful and how careful planning helped native species recover.
Be ready to share one thing you learned about balance and one action that helped the desert ecosystem thrive again.


Comprehension – Understanding Conservation Status
This comprehension task builds understanding of population trends, risk and long-term sustainability.
Before reading, briefly explain that conservation status is a global system used by scientists to measure how safe or at risk a species is. Clarify any unfamiliar vocabulary and remind students that some of these terms appeared in their Weekly Words.
As students work through the text, focus on helping them recognise progression across the ranking system. Encourage them to understand that the categories show increasing levels of risk, not simply different labels.
Look for:
Accurate recall of definitions.
Ability to explain the difference between categories.
Cause and effect reasoning about population decline.
Connections to habitat loss, invasive species or climate change.
Application of ideas to their Champion Animal.
Some students may begin to show deeper ethical thinking when discussing extinction. Others may demonstrate growing systems thinking by linking conservation status to habitat quality and human action.
Reinforce that conservation status can change over time. Highlight that careful planting and habitat protection are examples of actions that can help move species toward recovery.
This week, you will read an information text about conservation status and how scientists decide whether a species is safe or at risk.
As you read, look closely at what conservation status means and why it is important. Notice how species are ranked from Least Concern to Extinct. Think about what each level tells us about a species’ population size, survival and risk.
Pay attention to the difference between species that are endangered, vulnerable or critically endangered. Notice what it means if a species is extinct in the wild but still alive in captivity. Consider why some species are listed as data deficient and why that can be a problem.
The questions will begin by asking you to find key facts. Then you will explain ideas in your own words. Finally, you will apply your understanding by thinking about your Champion Animal and what might affect its conservation status in the future.
As you work, use full sentences and support your answers with information from the text. Think carefully about how conservation status connects to population sustainability and the planting work you are doing at school, including how habitat protection can support species recovery over time.


Record Your Answers – How Far Will You Stretch Your Thinking?
Explain to students that the levels are designed to stretch thinking, not to sort or compare ability. Reinforce that moving to higher levels means thinking more deeply, not working more quickly.
Before students begin, model how to answer one question using a full sentence and evidence from the text. Demonstrate how to return to the text to find supporting information rather than relying on memory alone.
As students work, look for:
Careful reading of each question.
Use of full sentences rather than fragments.
Evidence drawn directly from the text.
Clear explanations rather than copied phrases.
Willingness to pause and rethink when unsure.
Notice students who begin to explain cause and effect or make connections beyond the literal information. This shows developing comprehension and systems thinking.
Support students who feel stuck by guiding them back to key words in the question. Encourage them to underline important terms and identify what the question is truly asking.
Provide feedback and praise persistence and thoughtful effort. The goal is not speed or perfection, but growing confidence in reasoning, explanation and applying understanding to real-world environmental issues.
Now that you have read the text, you will answer twelve comprehension questions. The questions are arranged in levels, and each level asks you to think a little more deeply.
You will begin with Level 1 questions. These focus on finding clear facts from the text. As you move through the levels, you will be asked to explain ideas in your own words, make connections, and apply your understanding to real animals, habitats and environments.
Write your answers in full sentences. Use evidence from the text to support your thinking. Read each question carefully before you start and take a moment to consider what it is really asking.
If a question feels challenging, slow down rather than rush. That feeling means your brain is stretching. Deeper questions help you understand not just what happens in habitats, but why it happens and how everything is connected.


Planting in Action – Bringing Your Habitat Design to Life
Begin by revisiting the habitat design students previously voted on. Display the design clearly and invite students to explain why it was chosen. This reinforces ownership and democratic decision making.
Before beginning this session, take a moment to guide your students back through their thinking from the previous lesson. Revisit the problem they were aiming to solve, the intended habitat user, and the criteria that define a successful outcome.
Encourage students to reflect on the design their class selected. Does it meet the agreed success criteria? Are there any refinements needed before planting begins?
You may also wish to revisit the design or engineering design process.
The big day has arrived. This week, you will begin planting your habitat.
Before you start, revisit the habitat design your class voted on a few weeks ago. Look carefully at the plan. Why did you choose this design? What features were important? Where did you decide plants, paths and open spaces would go?
Next, take a photo of the area before you start. Choose a good angle where you can see the whole area. In the coming weeks and months, you will take a regular photo from this exact same position to track how your habitat changes over time. This is called photo point monitoring.
Gather as a class and place your potted plants on the ground according to your chosen design. With help from your teacher and community members, move the pots into position. Step back and look at the space from different angles. Does it match your original plan? Does anything need adjusting before you dig?
Next, learn how to read a plant label. Look at the plant name, how tall and wide it will grow, how much sunlight it needs and how much water it requires. Notice whether it attracts pollinators or other wildlife. Use this information to confirm that each plant is in the right place.
When you are ready, carefully follow the Step by Step Planting Guide. Choose the right spot. Dig a hole the depth of the pot and twice as wide. Gently remove the plant without pulling the stem. Place it in the hole so the top of the soil is level with the ground. Fill in the soil, press it down gently, water well and add mulch.
Capture the entire planting process with at least six photos to document this amazing occasion. Take photos before you start, during the key steps (like laying out plants, digging, watering, planting, and mulching/guarding), and a final team photo at the end. These visuals will serve as an excellent record of the sequence and a celebration of your hard work.
This week is about planting with care and purpose. Next week, you will build and install bird boxes and insect hotels. For now, focus on turning your voted design into something real.


Wild Maths – Birth Rates and Population
This activity builds research skills, mathematical reasoning and ecological understanding.
Before students begin, revisit the concept of population growth and clarify that scientists examine maturity age, breeding frequency, total offspring and survival rates together. Population change is about patterns over time, not just birth numbers.
Model one completed example from the Breeding Success table so students understand how to move from biological data to calculated outcomes. Make your working out visible, especially when applying multiplication and survival percentages.
Revisit previous learning on data and representation, prompting students to connect how data can be collected, organised and interpreted to understand real-world problems.
This week, you are going to think like a wildlife scientist.
Scientists do not just count animals. They look carefully at how animals grow, how often they reproduce, and how many of those young survive. That helps them understand whether the population of a species is likely to grow, stay the same, or decline.
First, you will read the information about a variety of animals and notice the differences between them. Some animals grow up very quickly and have lots of young. Others take many years to mature and only have one baby at a time.
Next, you will study the Breeding Success table. Some of the information has already been completed. Other sections are blank for you to investigate.
Your job is to become a researcher. You will use books, trusted websites and reliable sources to find the missing information. You will look for:
Life span
Age at maturity
How often the animal breeds
How many young it has at one time
The main threats it faces
Once you have gathered the data, you will use the formulas provided to:
Calculate how many young the animal could have in its lifetime.
Estimate how many of those young might survive to adulthood.
As you work, keep asking yourself this important question: Does having a lot of babies always mean a species is safe?


Weekly Mindfulness – Signs of Animal Life
This mindfulness activity supports students to slow down and look for evidence of animal life through careful observation. Explain that the goal is not to spot the animal itself, but to notice small signs that show animals are present and interacting with the habitat.
Before going outside, set clear expectations for calm movement, quiet voices and respectful behaviour. Remind students that they are observers, not collectors, and that scats, leaves and other signs should not be touched or disturbed.
Model careful observation by pointing out a simple example such as a leaf with bite marks, a small hole in the soil or scratch marks on bark. Use clear, gentle language to describe what you see before suggesting what may have caused it. Separate observation from speculation.
As students work, circulate and listen for thoughtful noticing rather than dramatic conclusions. Encourage students who kneel down, look closely or compare patterns, as this shows careful attention. Prompt reflection with questions such as: "What do you actually see?" and "What might have made this sign?"
Use this activity to strengthen students’ ability to infer from evidence, recognise animal behaviour and understand that habitats are living systems.
Provide feedback that values patience, reasoning and respectful curiosity rather than finding something unusual or exciting.
This week, you will slow down and look for evidence that animals have been in your habitat.
Find a quiet space near your planting area. Move slowly and observe carefully. You are not looking for the animal itself. You are looking for clues. Look for small signs such as:
Nibbles on leaves
Holes in the soil
Scratches on bark
Feathers
Insect damage
Scat (poo)
Tracks or footprints
Choose one piece of evidence and study it closely. Draw what you see in your nature diary. If you are feeling confident and creative, try describing what you see in a short rhyming poem, like the examples opposite.
Then, think carefully. What species might have made this sign? Was it an insect, a bird, a mammal or something else? Use what you know about local animals to make a thoughtful guess.
You are not trying to be perfect. You are practising observation and reasoning. By noticing small signs, you are learning how habitats support life and how animals interact with the plants you have just placed in the ground.


Share Your Thoughts on Dear World
Before writing, invite students to stand quietly in the planted area and observe the change. Ask them to recall what the space looked like before planting.
Encourage students to focus on:
Their specific role and responsibility.
How it felt to work with the wider community.
Visible changes in the environment.
Anticipation of wildlife returning.
Long term impact rather than immediate results.
Listen for emerging environmental identity, where students begin to see themselves as caretakers or habitat creators. Support imaginative but grounded reflection when students speculate about the first creature arriving. Encourage realistic connections to the plants they installed.
Reinforce that Dear World stories are written to inspire others. Encourage clarity, sincerity and hope rather than exaggeration. Celebrate courage in sharing personal feelings about responsibility, pride and anticipation. This is a moment to strengthen ownership of the habitat and belief in collective action.
This week, you will write a Dear World story about your role in the planting journey and how it felt to see your playground begin to change.
Think about the moment you placed the plants into the ground. What was your responsibility? Did you dig, measure, read labels, water or organise the layout?
How did it feel to take the class design and turn it into something real?
Reflect on what it was like to work with your classmates, teachers and community members. How did it feel to see everyone contributing to one shared goal? What changed in the space as you worked?
Now imagine the future. What will it feel like when the first bird lands? When the first insect visits a flower? When you notice nibbles on leaves or hear new sounds at playtime?
Use your story to describe both what happened and what you hope will happen next. Explain how your actions today may support life tomorrow.
When you are ready, log in to the Dear World Library and upload your story.
You may include photographs from planting day to show the transformation.
Your words will be shared with students and teachers around the world. Show them how young people can work together to rewild a space and create a habitat where nature is welcome.

Week 8 Quiz and Certificate
Present the quiz as an opportunity for students to recognise how their understanding has deepened over the week. Emphasise that it is a chance to think carefully about sustainability and population balance rather than to achieve a perfect score.
Before students begin, briefly revisit the central ideas explored during the week, including:
• How birth rates influence population size
• Why survival to maturity matters
• What conservation status categories tell us
• How threats affect long term survival
• The connection between healthy habitats and stable populationsEncourage students to pause and think before answering. Invite them to explain their reasoning where appropriate, especially when questions involve cause and effect
At the end of this week, you will complete a short quiz to reflect on what you have learned about animal sustainability and population growth.
The questions will focus on how birth rates, survival rates and habitat quality affect whether a species grows, stays stable or declines. You will think about conservation status, main threats, and why some animals recover quickly while others take many years.
The quiz will also connect to your planting work. Consider how creating healthy habitats can support stable populations and help species move towards recovery.
Take your time and read each question carefully. Think about what the question is really asking before you answer.
When you have finished, you will receive your Week 8 certificate. This certificate recognises your growing understanding of sustainability, responsibility and long term thinking in environmental action.
Each certificate you collect shows that you are becoming more confident in understanding how ecosystems function and how human decisions influence the survival of other species.
.png)